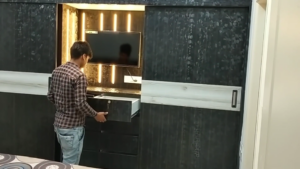
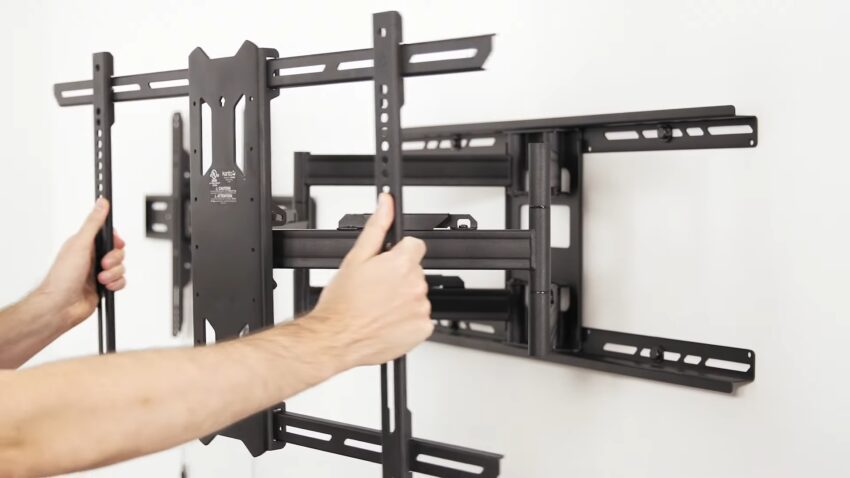
As a typical SANUS go, the SANUS VLT6 wall mount is not much different. The largest difference that you’ll see if the ability to extend away from the wall. This is great for switching inputs or if you need to adjust the wall mount itself.
It features the same options as other wall mounts with its slick ability to tilt up and down all while supporting a wide range of TV sizes and weights. Below are also the supported VESA patterns.
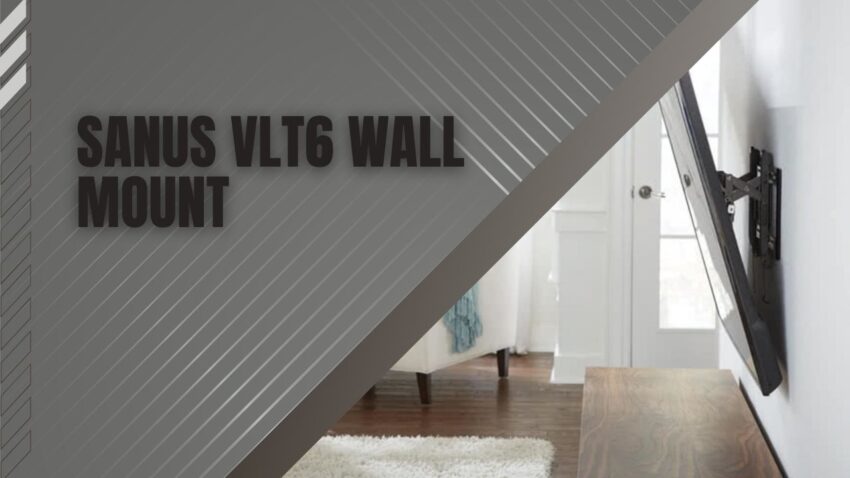
Mount Your TV on the SANUS VLT6

Available on Amazon
SANUS VLT6 Details
- Product Brand SANUS
- Model Code VLT6
- Wall Mount Width 30.00″ / 76.20cm
- Wall Mount Height 18.11″ / 46.00cm
- Wall Mount Depth 2.75″ – 5.75″ / 6.99cm – 14.61cm
- Wall Mount Weight 13.28lbs / 6.03kg
- TV Size Range 46″ – 90″ / 116.84cm – 228.60cm
- Maximum TV Weight 150lbs / 68.04kg
- Degree of Tilt 7° / -12°
Supported VESA Patterns
The SANUS VLT6 wall mount is designed to support a range of TV sizes, from 46 inches to 90 inches (116.84 cm to 228.60 cm). It also has a maximum weight capacity of 150 pounds (68.04 kg), making it suitable for larger and heavier TVs.
In addition to its weight capacity and TV size range, the SANUS VLT6 also supports a variety of VESA patterns. The VESA pattern refers to the distance between the mounting holes on the back of your TV. The following VESA patterns are supported by the SANUS VLT6:
- VESA 200 x 100
- VESA 200 x 200
- VESA 300 x 200
- VESA 300 x 300
- VESA 400 x 200
- VESA 400 x 300
- VESA 400 x 400
- VESA 500 x 400
- VESA 600 x 400
It is important to check the VESA pattern and weight of your TV before purchasing a wall mount to ensure compatibility with the SANUS VLT6.
Tools You Will Need For Installation
To make things as easy as possible you are going to need some tools. Below are the needed tools to properly set the wall mount up.
- 3/8″ Masonry Bit (Concrete)
- 3/8″ Drill Bit
- 7/16″ Socket Wrench
- 1/2″ Socket Wrench
- Awl
- Electric Drill
- Level
- Phillips Head Screwdriver
- Pencil
- Stud Finder
- Tape Measure
How To Install The SANUS VLT6
As with all SANUS wall mounts the installation process is very easy. You’ll need to connect the wall bracket to the TV, the wall plate to the wall and then the wall bracket to the wall plate. The real beauty here is all the working parts are pre-installed to make your life easy. Below are some more detailed steps in case you get stuck.
Step 1 – Wall Bracket

- 1-1 Find the TV screws and insert them into the back of the TV.
- 1-2 Determine if the provided spacers are needed.
- 1-3 Measure your TV’s VESA pattern
- 1-4 Using the correct bracket, attach to the VESA holes on your TV.
Step 2 – Wall Plate
- 2-1 If using the stud finder, find the studs in your wall
- 2-2 If you have concrete walls, measure and apply wall anchors.
- 2-3 Once holes are made or anchored, attach wall plate to the wall.
Step 3- Attach Bracket to Wall Plate
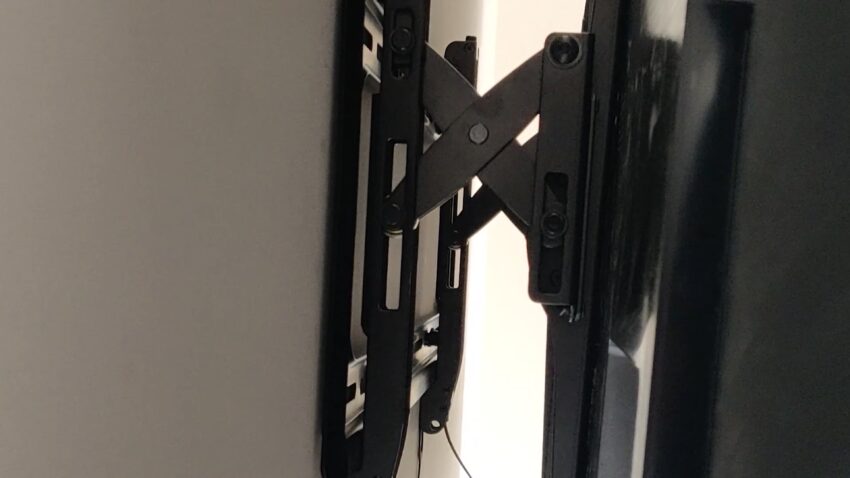
- 3-1 Final Step The locking tab needs to be in the unlocked position before attaching the TV to the wall plate. Once the TV is on the wall plate, the locking tab needs to be in a locked position.
HEAVY! YOU MAY NEED ASSISTANCE WITH THIS STEP.
The VLT6 from SANUS works well and offers some a great feature that models below it don’t offer. Remember that if you are ever worried about cable management.
Tilting wall mounts like the SANUS VLT6 offer several advantages over fixed wall mounts, including:
- Reduced glare: With a tilting wall mount, you can adjust the angle of your TV to reduce glare from windows or lights. This can greatly improve the viewing experience by minimizing distracting reflections on the screen.
- Better viewing angles: Tilting wall mounts allow you to adjust the angle of your TV, making it easier to get a comfortable viewing angle from different seating positions in the room.
- Increased versatility: Tilting wall mounts can be adjusted to accommodate different types of content, such as movies, sports, or gaming. By adjusting the tilt angle, you can optimize the viewing experience for different types of content.
- Improved access to cables: With a tilting wall mount, you can easily access the cables and inputs on the back of your TV without having to remove it from the wall. This can make it easier to switch between different devices or troubleshoot connection issues.
Overall, a tilting wall mount can provide a more versatile and comfortable viewing experience compared to a fixed wall mount. If you’re looking for a wall mount that can adjust to your viewing preferences and room layout, a tilting mount like the SANUS VLT6 may be a good option to consider.
FAQ
Can the SANUS VLT6 wall mount be used with soundbars or other audio equipment?
Yes, the SANUS VLT6 wall mount can be used with soundbars or other audio equipment as long as they are within the weight capacity of the wall mount and do not interfere with the tilt or extension features.
How do I know if the SANUS VLT6 wall mount is compatible with my TV?
To ensure compatibility with your TV, you should check the TV’s weight, size, and VESA pattern. The SANUS VLT6 wall mount has a weight capacity of 150 pounds and is compatible with TV sizes ranging from 46 inches to 90 inches. It also supports a variety of VESA patterns.
Can the SANUS VLT6 wall mount be used with OLED TVs?
Yes, the SANUS VLT6 wall mount can be used with OLED TVs as long as they are within the weight and size capacity of the wall mount and have a compatible VESA pattern.
How do I clean the SANUS VLT6 wall mount?
To clean the SANUS VLT6 wall mount, use a soft, dry cloth to wipe down the surface. Do not use any abrasive or chemical cleaners as they may damage the finish of the wall mount.
Can the SANUS VLT6 wall mount be installed on a slatwall or pegboard?
No, the SANUS VLT6 wall mount is not designed for use on a slatwall or pegboard. It is recommended that you consult with a professional if you need to install a wall mount on a non-standard surface.