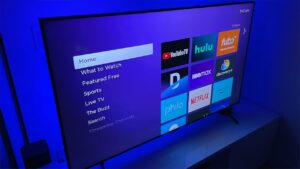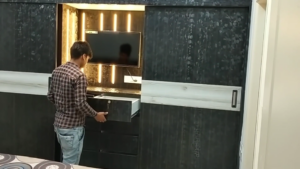
So, I recently decided to level up my living room game by getting that TV off the stand and onto the wall. I mean, who doesn’t love the sleek look of a wall-mounted television, right? I went with the Onn Full Motion TV wall mount, and let me tell you, it was quite the adventure getting it up there.
If you’re thinking of doing the same, stick around. I’ve got some tips and tricks from my experience that might just save you some time (and maybe a headache or two).
Why Wall Mounting?
Before diving into the installation process, it’s essential to understand the basics of wall mounting. This will ensure a smooth and safe installation. Wall mounting a TV offers numerous benefits:
- Space-saving: It eliminates the need for bulky stands or cabinets.
- Aesthetic appeal: A wall-mounted TV gives a clean, modern look to your living space.
- Reduced glare: You can tilt and adjust the TV to reduce reflections and ensure optimal viewing.
However, wall mounting is not just about aesthetics. It’s also about ensuring the safety of your TV and those around it. A properly mounted TV minimizes the risk of accidents and damages.
Types of Wall Mounts
There are various types of wall mounts available in the market, each offering different functionalities: Fixed mounts: These hold the TV flat against the wall and do not offer any angle adjustments.
- Tilt mounts: These tilt mounts allow you to tilt the device vertically, which is useful for reducing glare.
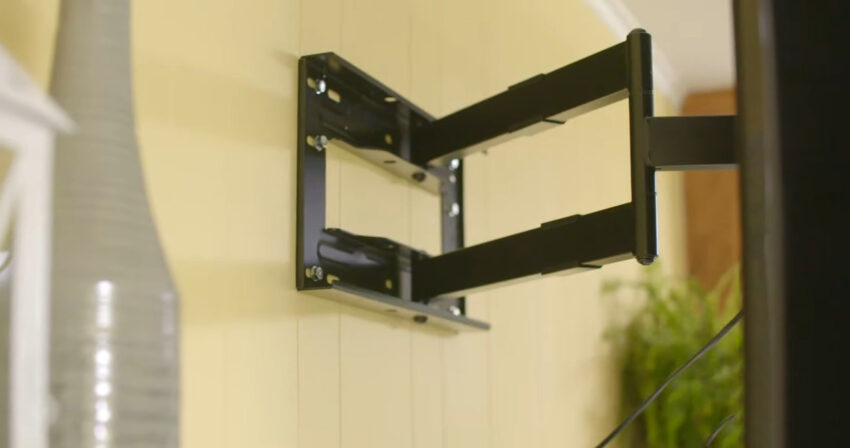
- Full-motion mounts: Like the Onn Full Motion TV Wall Mount, these mounts can be tilted, swiveled, and extended from the wall, offering maximum flexibility.
Preparing for Installation
Before you start drilling holes in your wall, there are a few preparatory steps to ensure a successful installation. A successful installation requires the right tools. Here’s a checklist of what you’ll need:
- Stud finder: Essential for locating wall studs to securely anchor the mount.
- Drill and drill bits: For making pilot holes in the studs.
- Level: To ensure your device is perfectly horizontal.
- Screwdrivers: Both flathead and Phillips may be needed.
- Pencil or marker: For marking drill points on the wall.
Having these tools on hand will streamline the installation process and ensure you’re well-prepared for each step.
Choosing the Right Location
The location of your TV plays a crucial role in your viewing experience. Consider the following when choosing a spot:
- Viewing height: The middle of the TV should be at eye level when seated.
- Distance from the viewer: For optimal viewing, the distance should be approximately three times the height of the TV.
- Avoiding glare: Avoid placing the opposite large windows or bright light sources.
Once you’ve chosen the perfect spot, use the stud finder to locate the wall studs. These will provide a secure anchor for the mount.
The Installation Process
The plate is the component of the mount that attaches directly to the wall. It’s crucial to install this correctly, as it bears the weight. Place the plate against the wall where you want to mount. Using a level, ensure it’s perfectly horizontal.
With a pencil or marker, mark the drill points on the wall, ensuring they align with the center of the wall studs.
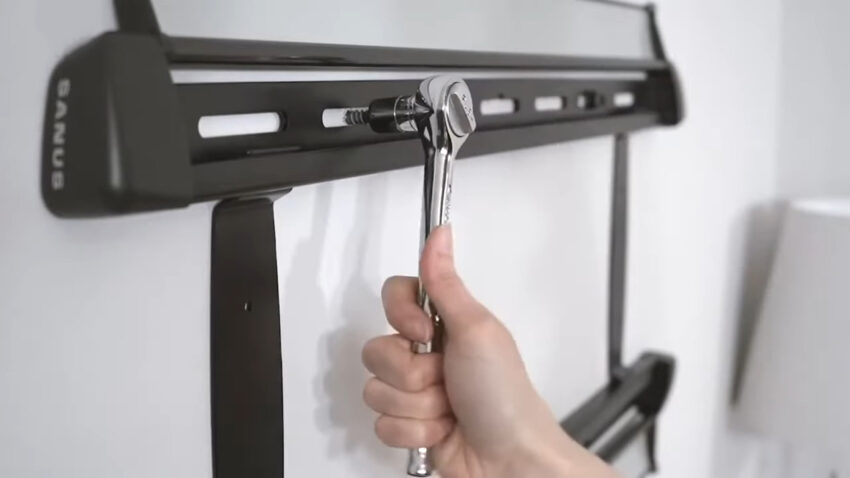
Drilling and Securing the Plate
Once you’ve marked the drill points, it’s time to drill. Using the appropriate drill bit, drill pilot holes into the center of the wall studs. These holes will guide the mounting screws and ensure a secure fit.
After drilling, align the plate with the pilot holes and secure it using the provided screws. Ensure it’s tightly fastened and doesn’t wobble.
Attaching the Brackets
Now that the plate is securely in place, the next step involves attaching the mounting brackets to the back of your TV. This will enable the TV to hang on the plate. Every TV has a set of standardized mounting holes on the back, known as VESA (Video Electronics Standards Association) holes.
These holes are designed specifically for wall mounting:
- Check the manual: It will specify the location and size of the VESA holes.
- Visually inspect the back of your TV: The mounting holes are usually four in number, forming a square or rectangle.
Once you’ve identified the VESA holes:
- Position the brackets: Align them with the mounting holes on your TV.
- Use the provided screws: Secure the brackets, ensuring they are tight and flush against the back of the TV. Avoid over-tightening, as this could damage your TV.
Connecting Cables and Wires
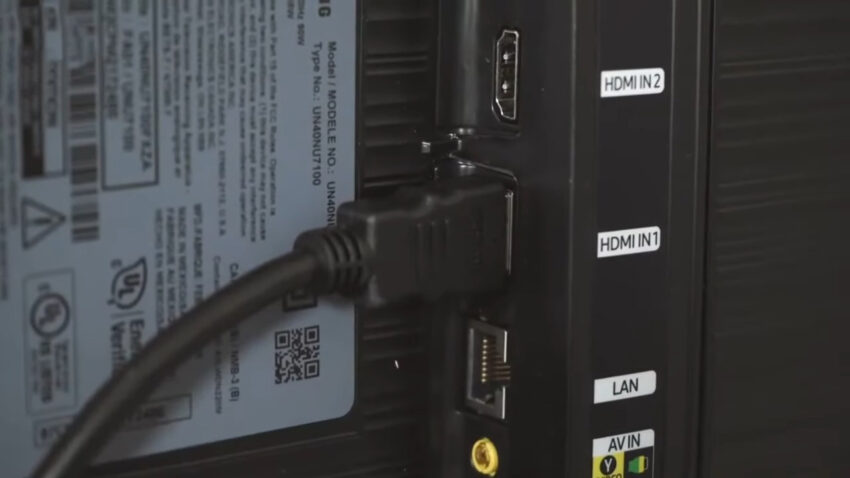
Before you hang the TV on the wall, it’s a good idea to connect all necessary cables and wires. This step ensures easy access and reduces the risk of damaging connectors. A wall-mounted TV looks best when the cables are organized and hidden:
- Use cable clips or ties: These help bundle cables together, keeping them neat.
- Consider cable covers or conduits: These can be painted to match your wall and hide cables, giving a clean look.
Making the Connections
Connect all necessary cables:
- HDMI for video sources: Such as Blu-ray players, gaming consoles, or streaming devices.
- Optical or audio cables: If you’re using an external sound system.
- Power cable: Ensure it’s long enough to reach the nearest outlet.
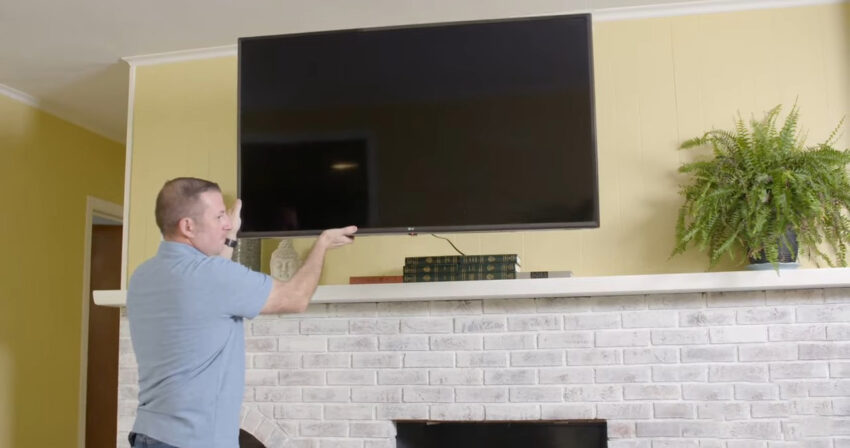
Adjusting for Optimal Viewing
Once the device is securely mounted, the final step is to adjust its position for the best viewing experience. The Onn Full Motion TV Wall Mount offers a range of adjustments to cater to different viewing needs. Tilting can help reduce glare and reflections, especially during daytime:
- Adjust the tilt angle: Depending on your mount, there will be knobs or levers that allow you to change the tilt angle.
- Secure the position: Once you’ve found the optimal tilt, tighten any screws or knobs to lock the TV in place.
Swiveling and Extending
The full-motion capability allows you to swivel the TV left or right and extend it away from the wall. Depending on where you’re seated, swivel the TV to face you directly. When extending the TV, ensure that the cables have enough slack and aren’t being pulled taut.
FAQs
How do I determine the ideal height for mounting my TV?
The middle of the TV should typically be at eye level when seated. Consider the height of your seating and the viewing distance when deciding.
What precautions should I take to avoid damaging my wall during installation?
Use a stud finder to locate studs and ensure you’re not drilling into electrical wires or plumbing. Also, ensure you use the correct drill bit size.
Does the Onn Full Motion mount come with a warranty?
Most Onn products come with a warranty, but it’s best to check the product packaging or the manufacturer’s website for specifics.
How do I handle cable management with a full-motion mount?
Since the TV can move, ensure cables have enough slack to extend without pulling. Use cable ties or clips to bundle and organize them.
Will the full-motion feature affect my TV’s viewing angles?
The mount’s design allows you to adjust for optimal viewing angles, reducing issues like glare or suboptimal viewing positions.
Summary
Whew! We made it! I won’t lie, there were moments I thought I’d bitten off more than I could chew. But now that my TV’s up on the wall, moving any which way I want it to, I’ve got to say—it was totally worth it. If I can do it, so can you.
Just remember to take it step by step, and don’t be afraid to ask for help if you need it. Here’s to cozy movie nights with our newly mounted television.